 fter yet another dusting of snow, I decided I would share something a little more on topic than the springy pillowcase dress of last time. One of my very favorite parts of snow days (aside from canceled classes and the snow itself) is making snow cream! In addition to being ridiculously simple to make, snow cream makes me feel much less guilty than indulging in a huge bowl of ice cream...I'll explain why in a minute. Although I usually have my mother make it for me (because like most things,snow cream is better when someone else makes it for you), this past weekend I myself made two batches of snow cream!
 How-To (for everyone still snowed in...and the hopeful ones)
You will need:
> Milk
> Sugar
> Vanilla Extract (artificial vanilla)
> SNOW
1. In as many bowls as you want to make servings, fill the bowl(s) about halfway full of milk.
2. Pour all of the milk from the bowls into one large bowl. Add about 1/3 of a cup of sugar for each serving you want, and stir until the sugar is mostly (or completely) dissolved.
3. Add a splash of vanilla (to taste), and stir again until mixed.
Here you can just barely see what your snow cream will look like (pre-snow of course).
4. Dish out the liquid into bowls, and add snow (more than you would think you need).
5. Mix and enjoy!
* I tell myself that this is healthier because as the snow melts you can keep adding more and more. This way you're essentially adding water and getting the same amount of the sugary part!
I hope all of you who are snowed in are warm and safe...but if you can brave the weather for a few minutes, harvest some snow and treat yourselves!
p.s. I just bought knitting needles and yarn, so expect a forthcoming comedy of errors about my adventures in knitting!


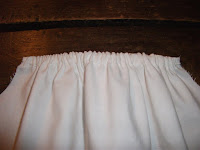
 esterday I finished my very first pillowcase dress! Since we're covered in snow today, I thought I would share this springy little dress.


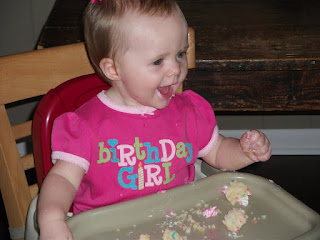
 ecause I'm so new at all of this blog stuff (and because I'm so eager to fill up my page), I thought I might give everybody a little taste of my previous dabbles in craftiness. These pictures are of my niece Della's first birthday party. I obviously can't take all the credit; my sister Natalie, my mother, and I all did our very, very best to make Della's first birthday party a pink and green, sparkly masterpiece!


 have very few concrete intentions for this blog, so it's all going to be a constant work-in-progress. I've always loved crafty and adorable things, and it's one of my goals to be that crafty. On that note, this blog will document my long, self-navigated journey to craftiness. There will be lots of pictures and updates about everything I can think to say. The first thing I'm hoping to do this year is make a pillowcase dress, then I'm moving on to hair bows, and my master plan is to make a quilt (which I've sort of "started"). I'll be sure to sprinkle in tidbits about cookie decorating (another adventure I'm taking with my sister). So far, this is shaping up to be an adventurous year, and I'm really looking forward to it!


